Installing solar panels in 2025 is not just about reducing electricity costs. It also helps you optimize your time and daily routine by making energy use more efficient. With a planned system, you can schedule tasks like laundry, cooking, or charging an electric vehicle during peak sunlight hours. This simple routine shift maximizes solar savings and reduces dependence on the grid. Solar energy also removes the stress of rising utility bills, which saves time and effort. Many homeowners see lifestyle improvements because energy production flows naturally with daily schedules.
Solar installation also supports time management through automation and smart home integration. Modern systems connect to energy management tools and battery storage. These tools let you choose when and how to use your solar energy. Instead of adjusting your day around unpredictable energy costs, you control your schedule with stable and predictable power. This creates smoother routines for running a home office, charging devices, or managing appliances. By combining solar power with time-saving strategies, you turn energy use into a routine that is efficient, cost-effective, and sustainable.
Step-by-Step Solar Panel Installation Guide
This guide is an introduction to building your own DIY solar setup, perfect if you’re learning for the first time. I’ll keep things simple and avoid heavy technical jargon, while still walking you through each step clearly enough for anyone to follow. By learning how to build your own system, you’ll gain the freedom to customize it, upgrade it later as your needs change, and develop a valuable hands-on skill that can save you money and boost your confidence.
There are four main components in a basic solar setup. The solar panels collect sunlight and send the energy through cables to a charge controller. The charge controller regulates how much power goes into the battery, where the energy is stored. To use that stored power for everyday items—like your phone, laptop, or refrigerator, you’ll need an inverter, which converts the battery’s DC power into standard AC electricity.
You’ll also need three main sets of cables. The first set connects the charge controller to the battery, the second connects the battery to the inverter, and the third connects the solar panels to the charge controller. Most cables can be bought with proper connectors already attached, making assembly easier. The essential tools include a Phillips screwdriver, large and small crescent wrenches or socket wrenches, and needle-nose pliers. At its core, that’s the full system you’ll be learning to assemble step by step.
How to Connect the Charge Controller to the Battery Step-by-Step
Connecting the charge controller to the battery starts with the charge controller cables and a small Phillips screwdriver. This step must be done before connecting the solar panels to the charge controller because failing to do so could damage the controller. The charge controller has six cable terminals. Two are marked PV plus and PV minus, these are for the solar panel connections. The next two are marked BAT plus and BAT minus, where the battery cables connect. The last two are for load, which are not covered here.
The cables used to connect the charge controller to the battery have lugs on one end for the battery and stripped ends for the charge controller. Both cables are black, so it’s crucial to track polarity carefully. Insert the stripped ends into the charge controller. Turn counterclockwise to open the terminals, slide the wires in one at a time, and tighten clockwise until secure. Give a light pull to confirm they don’t slip out.
Next, connect the cables to the battery. Unscrew the bolts on the battery terminals and attach the negative cable to the negative post first, then connect the positive cable to the positive post. Finger-tight connections are sufficient. Once connected, the charge controller’s screen will power on. You can then configure settings such as battery type and system voltage. In this case, the model connects to a 12-volt lithium battery. The charge controller also includes a temperature sensor and supports an optional Bluetooth module for monitoring through an app.
How to Connect the Charge Controller to a Solar Panel for Daily Use
To connect the charge controller to a solar panel, use a 100 watt solar panel and extension cables with MC4 connectors on one end and stripped ends on the other. Keep the panel out of the sun while working. Connect the extension cables to the cables coming off the solar panel. Track which is positive and which is negative. Insert the negative cable into the PV minus connection and tighten. Insert the positive cable into the PV plus connection and tighten. Place the solar panel in the sun to test. The charge controller will display charging information and confirm that the battery is receiving power. This information can also be viewed through the app. At this stage the solar panel, charge controller, and battery setup work together to harvest energy from the sun and store it for later use.
Connecting the battery to an inverter requires disconnecting the solar panel first. Disconnect the PV cables from the charge controller and remove the charge controller cables from the battery. Connect the cables to the inverter. Connect the positive cable to the positive inverter post and the negative cable to the negative inverter post. Before connecting to the battery it is recommended to install a fuse on the positive inverter cable. A 2000 watt inverter works with a 175 to 200 amp fuse. Secure the fuse flush against the lug without washers in between. Connect the negative inverter cable to the negative battery terminal and then the positive inverter cable with the fuse to the positive battery terminal. A small spark may appear at connection. Finger tighten the bolts and then secure them fully when adding the charge controller back.
Reconnect the charge controller along with the inverter. Connect the negative cable from the charge controller to the negative battery terminal along with the negative inverter cable. Tighten with a wrench. Connect the positive cable from the charge controller to the positive terminal along with the inverter cable lug. Ensure there are no washers between the lugs and battery posts to maintain direct contact. After tightening, reconnect the solar panel cables to the charge controller starting with negative then positive. This restores the complete circuit with inverter, battery, charge controller, and solar panel all integrated.
Testing the setup is the final step. With solar charging the battery, turn on the inverter and connect devices such as a TV, refrigerator, or laptop. The inverter provides a pure sine wave output, which is safe for electronics. Do not discharge the battery below 20 percent of its capacity under load, as this can cause permanent damage. Use a battery monitor or the Bluetooth app to track charge levels. With this complete system, you have a functioning DIY solar setup that can power daily appliances efficiently. By following these steps you can save time, reduce reliance on the grid, and manage your daily energy routine with renewable solar power.
Cost of Solar Panel Installation in 2025
In 2025, a typical residential solar panel system in the U.S. costs between $14,000 and $38,000, with a 6 kW system costing approximately $16,800 to $22,800 before incentives. Costs vary significantly by state, installer, and your specific roof type, so getting quotes from several local installers is crucial to getting an accurate price for your home.
Factors Influencing Solar Installation Cost
System size impacts the overall cost. Larger systems generally cost more, with a 10 kW package potentially reaching $38,000, while a smaller 5 kW system could start around $14,000. Geographic location plays a role as costs are lower in states with greater sunshine and more solar installers such as California and Texas due to increased competition and higher demand. The type of roof you have can affect installation costs. The local cost of labor, licensing fees, and the specific installer chosen will all impact the final price. Most systems include a 25-year performance warranty, which adds to the long-term value.
Example System Costs Before Incentives
A 5 kW system starts at about $14,000. A 6 kW system ranges between $16,800 and $22,800. A 10 kW system can reach approximately $38,000 or more depending on installation factors and roof construction requirements.
How to Get an Accurate Solar Quote
Research local installers and compare companies with good warranties and strong customer service. Get multiple quotes because prices can vary significantly between installers in your area. Understand your roof type and be prepared to discuss it, since this affects installation complexity. While upfront costs are important, also consider the potential savings on electricity bills and the long-term value provided by warranties.
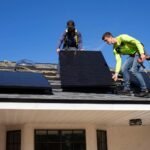
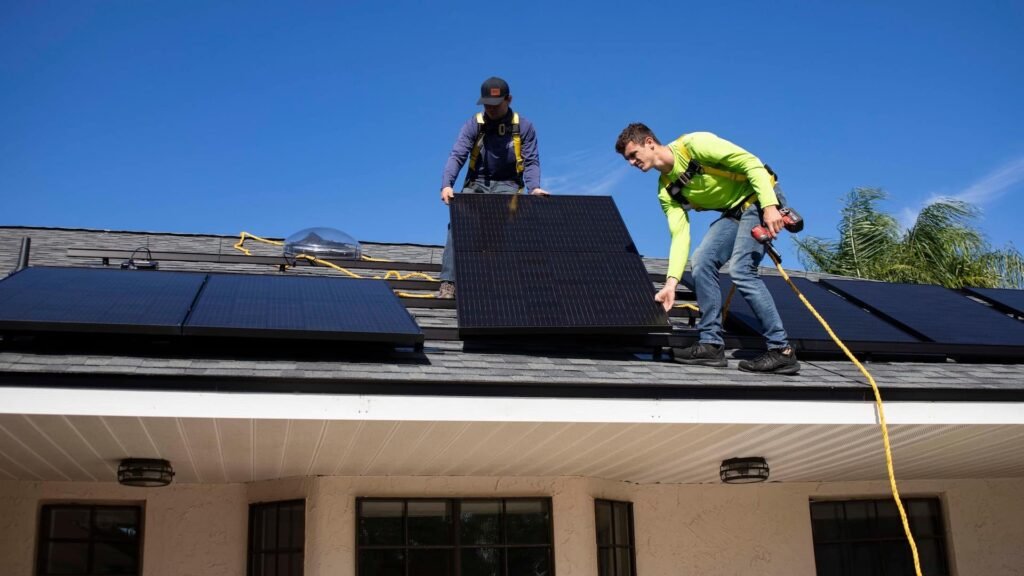
How Long Does Solar Panel Installation Take?
Solar panel installation itself, including mounting the panels and wiring the system, typically takes 1 to 3 days for a home system. The total process from initial contact to system activation can take several weeks or even months due to permitting, inspections, and grid interconnection requirements.
Factors That Influence Installation Time
System size and complexity play a major role, as larger or more intricate systems will require more time for installation. Roof type also matters since in-roof systems are more complex and can take longer than standard rail-mounted systems. Installer experience and team size influence efficiency, as more experienced teams with specialized tools can often complete an installation faster. Local regulations and permits add time because the duration to obtain approvals varies by location and can extend the project timeline. Weather conditions are another factor, since unfavorable weather can delay installation.
The Complete Solar Installation Process
While the physical installation is quick, the overall timeline includes several steps. A site visit and system design come first, where an installer assesses your property and finalizes the design. Permitting and approvals follow, with your installer obtaining the necessary permits from the municipality. Equipment delivery ensures solar panels and components arrive at your site. The installation team mounts the panels and completes electrical connections. A qualified inspector then checks the system to confirm it meets safety codes. Grid interconnection is handled by the local utility company, and system activation comes last, when your solar power system is switched on and begins generating electricity.
Common Mistakes to Avoid When Installing Solar Panels
Common mistakes when installing solar panels include inadequate site assessments for shading and roof condition, miscalculating system size for energy needs, improper component selection, DIY installation without professional help, incorrect panel placement and orientation, neglecting local regulations and permits, and failing to plan for maintenance and warranties.
Time Management Before Installation
Before installation, many skip a professional site assessment. Do not rely on estimations because it is necessary to get a professional to evaluate your roof’s condition, structural integrity, and potential shading from trees or buildings. Others misjudge system size and fail to accurately assess current and future energy needs. An undersized system will not meet your needs, while an oversized one becomes a costly mistake. Some ignore local regulations and fail to research building codes, permit requirements, and available incentives, which results in fines and compliance issues. Choosing the wrong components is also common. Selecting cheap or incompatible panels, inverters, and mounting systems leads to poor performance, reduced lifespan, and safety problems.
Installation and Post-Installation Issues
During installation, incorrect panel placement reduces efficiency because panels need the right angle and orientation to maximize sunlight exposure. Avoid areas with shadows and consider seasonal sun path variations. Improper mounting and racking can cause structural issues, water damage, and eventual system breakdown. Non-compliant electrical work, including improper wiring, lack of grounding, or poorly insulated connections, results in energy leaks, short circuits, and fire hazards. Attempting DIY installation without proper knowledge and skills creates costly errors, reduced efficiency, and dangerous conditions. After installation, neglecting maintenance and monitoring is another major mistake. Solar systems require ongoing care, and assuming the job is finished once panels are installed reduces efficiency. Plan for regular checks, dust removal, and inverter monitoring. Overlooking warranties and support also causes long-term issues. It is essential not to skip warranty details or ignore the importance of after-sales support from your installer.
Frequently Asked Question (FAQs)
Can I install solar panels myself or do I need a professional?
You can technically install solar panels yourself, but it is not recommended because the electrical systems often run at 600 volts or more, which makes DIY unsafe. Professional installers ensure correct panel placement, safe wiring, and compliance with building codes. They also handle required permits and inspections, which are difficult to secure without a licensed contractor. Most warranties lasting 10–25 years also require professional installation to remain valid.
Do solar panels work on cloudy or rainy days?
Yes, solar panels still generate electricity on cloudy or rainy days, but performance drops to about 10% to 25% of maximum output. Modern panels are designed to capture diffused sunlight, so they continue producing power even under overcast skies.
How long do solar panels last before replacement?
Most solar panels last 25 to 30 years before needing replacement. They typically lose about 0.5% efficiency per year, meaning after 25 years they still produce around 80% of their original output.
How much money can I save per year with solar panels?
Homeowners in the U.S. generally save between $800 and $2,000 per year on electricity bills, depending on their system size and local utility rates. For example, a 6 kW system can generate about 7,000 to 9,000 kWh annually, which offsets the majority of a household’s usage.
What permits or approvals do I need for solar installation?
Most local governments require a building permit and an electrical permit before installation begins. After installation, the system must pass inspection and then receive approval from the utility company for grid interconnection.
Do solar panels require maintenance?
Yes, but maintenance is minimal. Most systems need occasional cleaning to remove dust, dirt, or snow and a professional inspection every few years. Costs usually range from $150 to $300 for cleaning or service.
Are there tax credits or incentives for solar installation in 2025?
Yes, homeowners in 2025 can claim the 30% federal solar tax credit, which reduces the installation cost directly from taxes owed. For instance, a system priced at $20,000 would qualify for a $6,000 tax credit. Many states also offer rebates, property tax exemptions, and net metering programs that further increase savings.